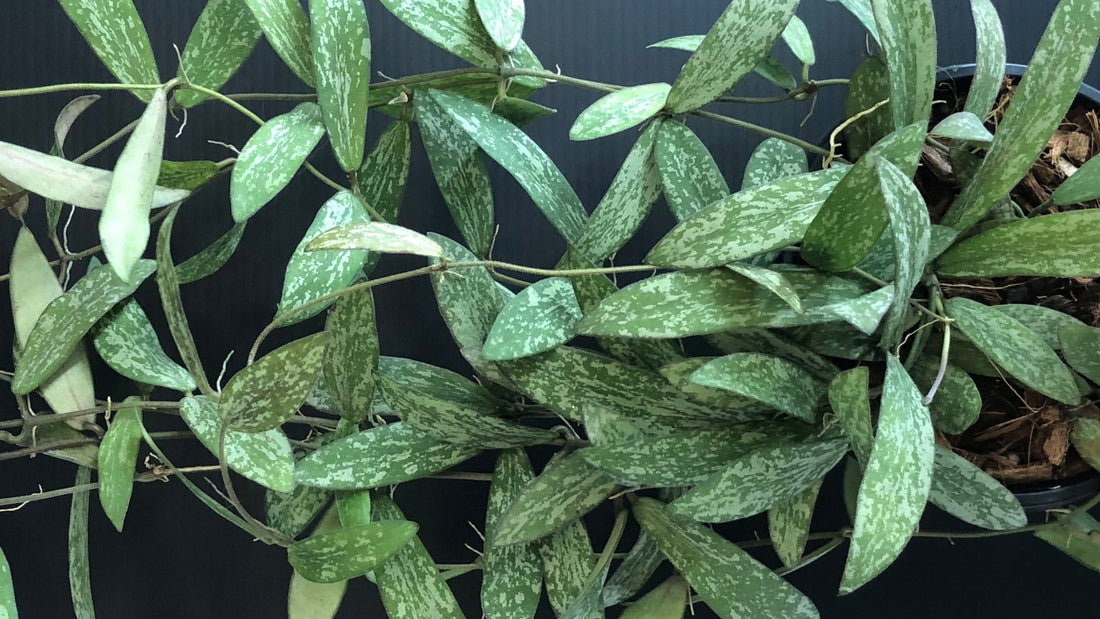
Hoya Shipping Care: What to Do When Your Hoya Plant Arrives
Share
Unboxing a new Hoya is always exciting! Whether it’s a rare variety you’ve been hunting for or a classic favorite, Hoyas sometimes need a little extra love after their journey. These waxy-leaved beauties can react differently to transit stress, but with the right post-shipping care, your Hoya will adjust and thrive in its new home.
Step 1: Inspect Your Hoya
When your Hoya plant arrives, start with a careful inspection to spot any signs of stress:
- Wilting or Drooping Leaves: Hoyas may look slightly deflated after shipping. With rehydration, leaves usually perk back up.
- Yellowing or Leaf Drop: A few yellow or dropped leaves are normal. Hoyas often shed older leaves while adjusting.
- Discolored or Damaged Leaves: Minor blemishes can happen in transit but usually don’t affect long-term health.
- Soil Disturbance: Check if the potting mix shifted during shipping. Hoyas are often shipped in chunky, airy mixes like coco husk or perlite.
- Pests: Always check the undersides of leaves and nodes for mealybugs or mites.
- Roots (if bare-root): Healthy Hoya roots should be firm and light tan. Avoid mushy or blackened roots.
Step 2: Let Your Hoya Acclimate
Hoyas are slow growers and don’t like sudden change. Give them time to settle in:
- Place in Medium Light: Avoid direct sunlight for the first 24–48 hours. Bright, indirect light is best while it recovers.
- Rehydrate Gently: Water if the soil feels dry. For bare-root Hoyas, soak the roots in room-temperature water for 15–20 minutes before potting.
- No Fertilizer Yet: Fertilizing too soon can overwhelm a stressed Hoya. Wait at least 2–3 weeks before feeding.
- Quarantine Your Plant: Keep your new Hoya separate from the rest of your collection for at least 2 weeks to avoid spreading pests.
Step 3: Tidy Up Your Hoya
A little cleanup can go a long way in helping your plant focus on new growth:
- Prune Damaged or Yellow Leaves: Use sterile shears to remove them. Hoyas will push fresh growth from nodes in time.
- Stabilize the Soil: If the mix shifted, gently press it back down or top up with fresh potting mix.
- Support Vines: Add a trellis, hoop, or stake to climbing Hoyas to reduce stress while acclimating.
Step 4: Transition to Long-Term Care
Once your Hoya has rested, begin moving it into your home’s growing conditions:
- Find the Best Spot: Hoyas prefer bright, indirect light. Variegated Hoyas need extra brightness to hold their color.
- Boost Humidity: Thin-leaved varieties like Hoya linearis love higher humidity. A pebble tray, humidifier, or grouping plants can help.
-
Watch for Signs of Stress:
-
Wrinkled leaves = thirsty Hoya
-
Continued yellowing = possible overwatering
-
Slow recovery = normal for Hoyas (patience pays off!)
-
FAQs About Hoya Post-Shipping Care
“My Hoya is dropping leaves. Is this normal?”
Yes! Hoyas often shed a few leaves after shipping. As long as stems and roots are healthy, it’s part of the acclimation process.
“Do I need to repot my new Hoya?”
Not right away. Hoyas dislike being disturbed. Only repot if the pot is damaged or the plant is severely rootbound. Otherwise, wait at least 2–3 weeks.
“How long until I see new growth?”
Hoyas are famously patient plants. Some bounce back quickly, others may take weeks or even months before pushing new vines or leaves.
“What if my Hoya arrived with pests?”
Immediately quarantine the plant and treat with neem oil or insecticidal soap until pests are gone.
✨ With the right post-shipping care, your Hoya will bounce back from transit stress and reward you with lush vines, waxy leaves, and — eventually — clusters of fragrant star-shaped blooms. The key is patience and consistency.
